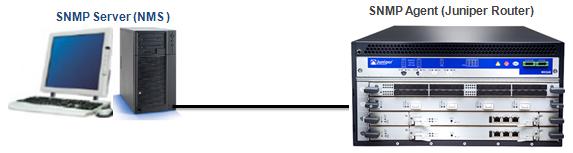
We begin the SNMP configuration with Cisco devices and here, we will continue how to configure a
Juniper device for SNMP. In this article we will not mention all the parameters deeply like in the before article. We will check the difference of
Juniper JUNOS configuration than
Cisco IOS.

First of all we need to enable
SNMP Server operation on router.
Router(config)# snmp-server
Secondly we will define
Community String. We will do this with an
SNMP community name, a
user’s privilege level and an
IP access list. As we know from the before article, community the community name is like a password and it is used to authenticate messages sent between an SNMP client and SNMP server. The community name is sent in every packet between them.
There are three priviledge modes. These are:
– ro : Read-only access to the entire MIB except for SNMP configuration objects.
– rw : Read-write access to the entire MIB except for SNMP configuration objects.
– admin : Read-write access to the entire MIB.
The maximum number of communities in each virtual router is 32. And an SNMP community permits only read-only access by default.
Router(config)# snmp-server community "istanbul" rw
To configure SNMPv3 use the following one:
Router(config)# snmp-server user gokhan auth sha gokhanpassword priv des password group user
Configuring SNMP
contact and
location is also best practice in Juniper as all vendors.
Router(config)# snmp-server contact gokhan
Router(config)# snmp-server location istanbul office floor3 departmentABC
[sc name=”ContentRMessage”]